
Introduction
Passkeys are an alternative to traditional passwords, based on public-key cryptography.
In this topic, we are going to set up a single sign-on (SSO) authentication platform using passkeys. That platform can be used to protect web-based applications compliant with OIDC, but also to protect applications lacking a built-in authentication mechanism. This could be a home lab, a corporate intranet, internal dashboards or legacy web applications without a proper authentication scheme.
Components used:
- Docker: virtualization software based on containers, available on Linux, Windows and macOS
- PocketID: a lightweight OIDC provider that allows users to authenticate to third party applications using passkeys only.
- Caddy: a feature-rich web server software comparable to Apache or Nginx. It provides reverse proxy and TLS termination capabilities, and can be extended with plugins.
Prerequisites
This topic assumes the reader is already familiar with:
- DNS
- Docker and Docker compose
- web servers and reverse proxying
- SSO concepts, Oauth/OIDC
In order to carry out the instructions outlined below, you should have a domain name, the ability to run Docker compose and some kind of hosting plan suitable for Docker containers. Additionally, you will need a suitable device like a smart phone or a Yubikey, or a password manager that supports passkeys.
Tips:
- You can use a subdomain (especially for testing purposes).
- It is possible to run the setup internally (on a development machine), however TLS is required for passkeys to work, requiring trusted certificates.
We'll use test.com as an example. Adjust your configuration accordingly.
Setup
Clone the repository
Fetch a copy of our repository:
git clone https://github.com/darknetehf/passkeys_demo.gitYou will need to edit some files, and use your domain name in the relevant sections.
Notes:
- We are using a hardened, distroless version of PocketID – for testing and troubleshooting purposes you can use the regular version
- We are using Docker volumes for data persistence
- Two .env files are needed (more on that below)
DNS setup
Create A records for the following 2 hostnames and use the IPv4 address relevant to your hosting plan:
- pocketid.test.com
- nginxdemo.test.com
As always, adjust to whatever domain name you are using. The hostnames can be different, but following our examples reduces the risk of error.
Tip: it is possible to run the setup internally for testing purposes, in this case use 127.0.0.1 as IPv4 address. You can also add IPv6 (AAAA) records if desired.
Caddy is able to obtain certificates automatically in different ways. The classic method (HTTP challenge) requires that port 80 be reachable from the Internet to complete the challenge. If you choose the internal method, then it can be more practical to use the DNS challenge method, and Caddy can even obtain a wildcard certificate. Refer to the official Caddy documentation for more details.
Before going further, verify that all these names are resolving, using the ping command for example. Also make sure that there are no firewall rules active, that block port 443.
Caddy configuration
We now need to add virtual hosts. We have chosen to create one file per virtual host, the Nginx way. They are found in the sites-enabled directory and copied during the container build (See Dockerfile). You can use a mounted Docker volume for more flexibility. For example, we have created the two following files:
- pocketid.test.com
- nginxdemo.test.com
Open these two files and replace with your domain name. Only the first line needs changing eg:
pocketid.test.com These files can be renamed, to match the actual domain name or another naming convention you prefer.
Additionally, the Caddyfile needs a small change. Edit the line that begins with "trust login" and replace test.com with your domain name:
trust login redirect uri domain exact nginxdemo.test.com path prefix /
Customize .pocketid.env file
NB: We are keeping all secrets in two .env files, rather than leave them hardcoded in configuration files:
- .pocketid.env
- .caddy.env
Create .pocketid.env, using the supplied file .sample as a template and review the following variables:
# PocketID URL
APP_URL=https://pocketid.test.com

# Encryption key for PocketID
ENCRYPTION_KEY=
APP_URL should be the URL where PocketID can be reached. To generate a random value for the encryption key, you can use openssl as described in the documentation:
openssl rand -base64 32Start Docker containers
The supplied Docker compose solution includes 3 services:
- caddy: web server and reverse proxy
- nginxdemo: a simple web page served by Nginx, that we are going to protect with passkey authentication
- pocketid: a SSO authentication platform that uses passkeys only
The Caddy web server is the only container meant to be exposed on the Internet. The other services are sitting behind Caddy, which acts as reverse proxy.
To start the containers use:
docker compose -d (detached mode)or:
docker compose
We suggest running docker compose first, to watch the Docker logs in real time (useful for troubleshooting).
Caddy should obtain TLS certificates automatically for your domain name (watch the Docker log carefully).
PocketID configuration
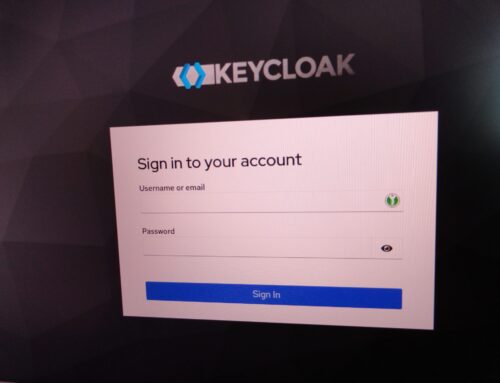
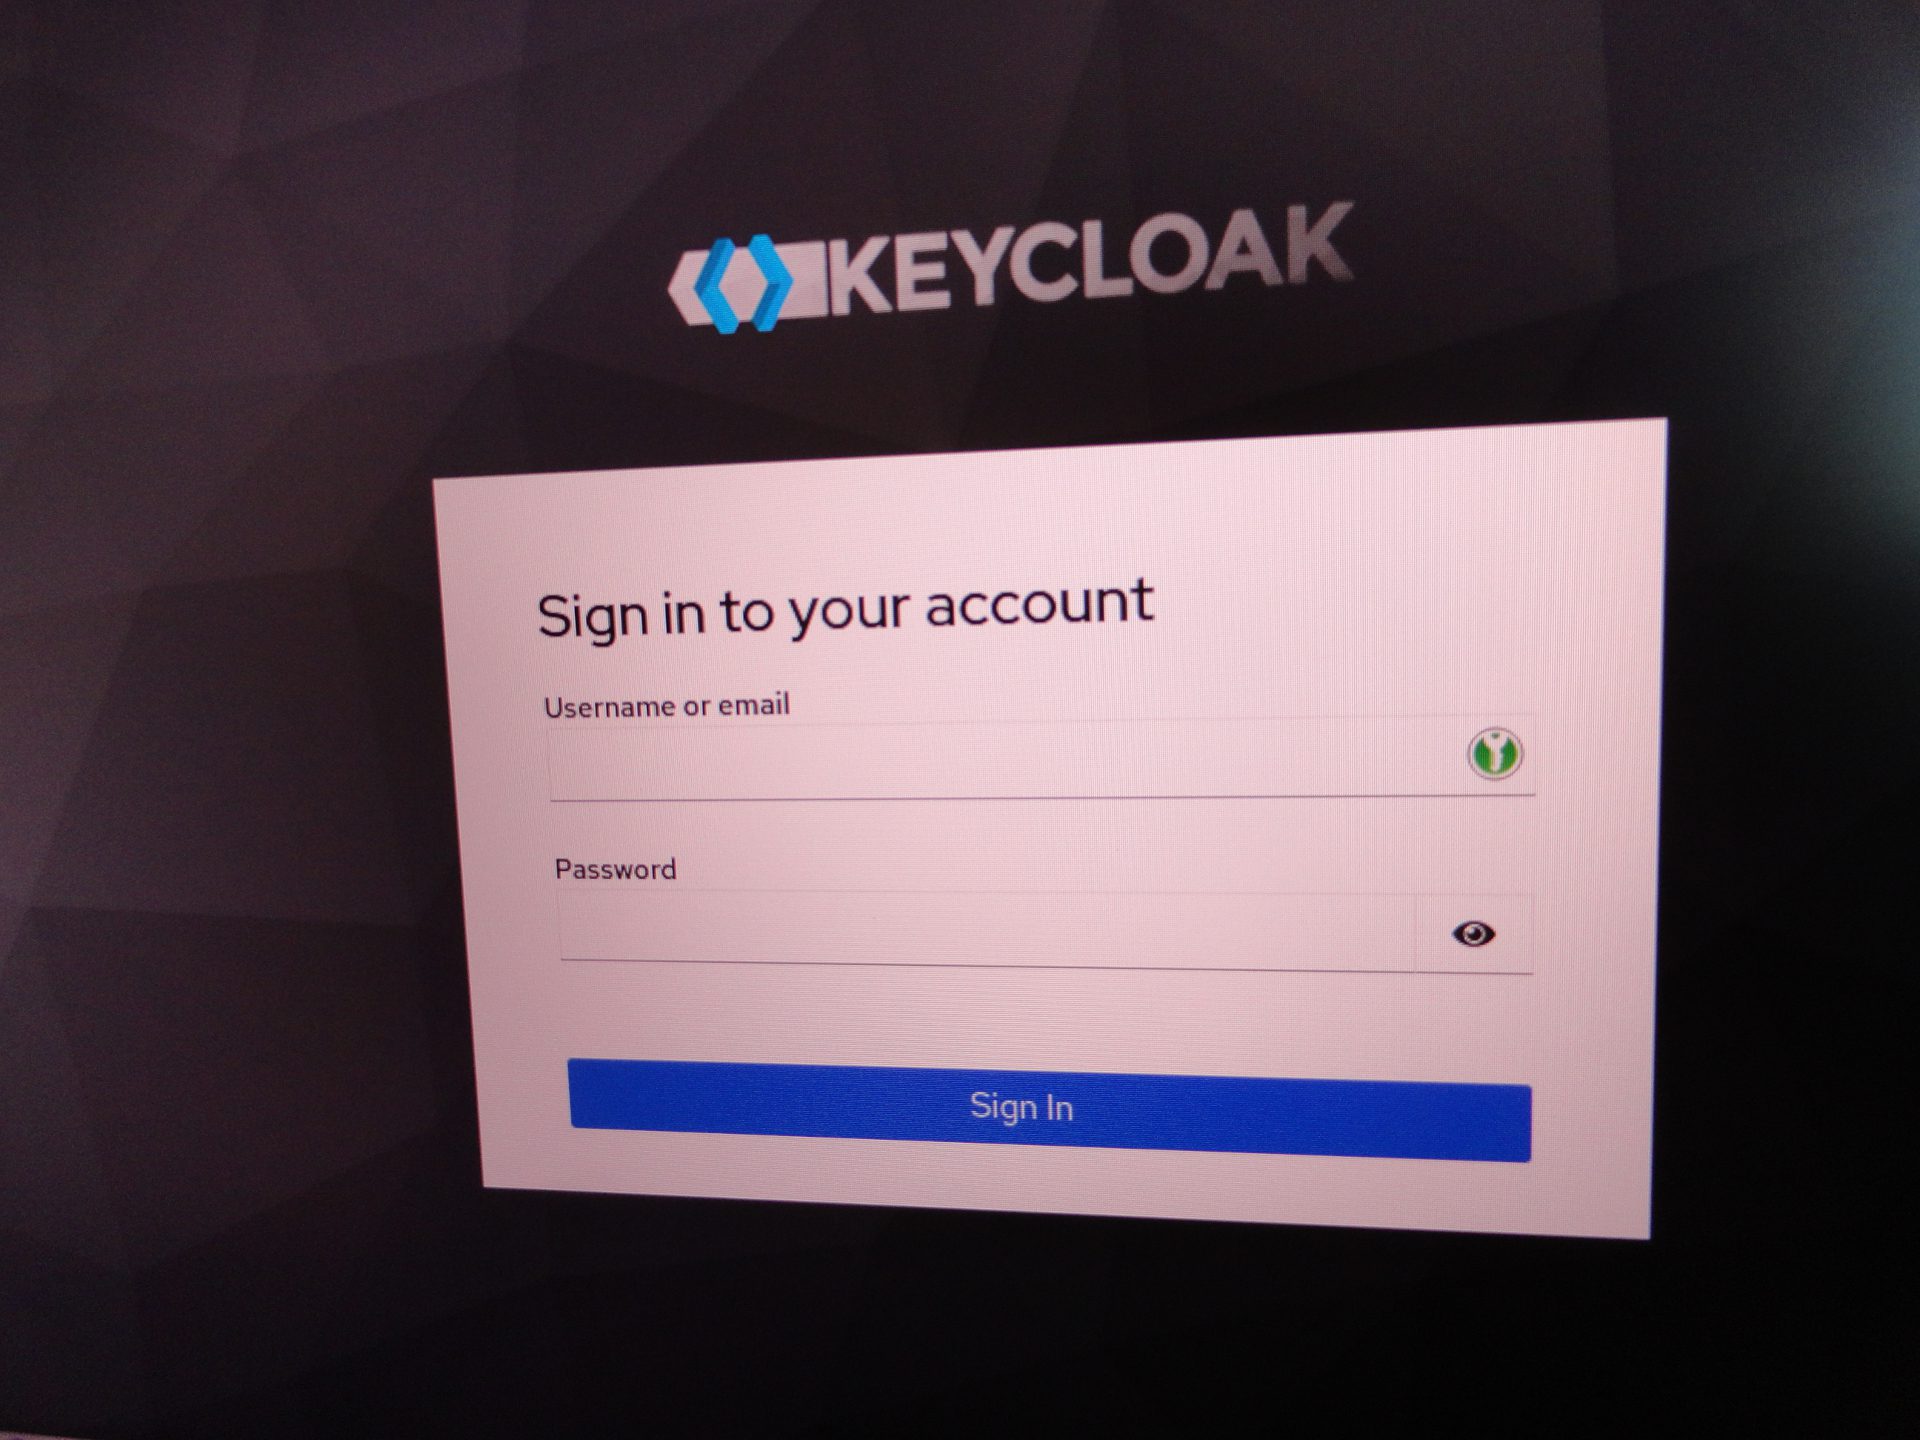
Browse over to https://pocketid.test.com/. You should see the following screen:

At this point, there is still no way to login.
To set up the initial admin account, go to https://pocketid.test.com/setup. You will be prompted to create an account, and a passkey will be generated. You can use a physical device like a Yubikey, a smart phone or a password manager that supports passkeys (for example KeepassXC).

NB: The setup URL will no longer work once initial access has been set up.
Next, go to User Groups and create a new group with any name you choose. Add yourself to that group.
Create OIDC client
Go to OIDC Clients and click on Add OIDC Client. At a minimum, you need to enter a name for the client (example: nginxdemo) and the target URL in Client Launch URL (example: https://nginxdemo.test.com). The callback URL should be set automatically later, so you can leave it blank for now.
In Allowed User Groups, you also need to add the group you created earlier, of which you are a member. Otherwise you won't be authorized to access the protected resource.
Make sure to note the client ID and the secret value. You'll need these for the next step.

Customize .caddy.env file
Now edit the .caddy.env file and fill out these two variables with the client ID and the secret respectively:
POCKETID_CLIENT_ID=...
POCKETID_SECRET=...
Final steps
Once this is done, you need to restart the Docker containers to apply the configuration changes eg:
docker compose restart
Go to https://nginxdemo.test.com/. You should be prompted for passkey authentication. After successful authentication you will see output that looks like this:
Server address: 172.26.0.2:80
Server name: nginxdemo
Date: 16/May/2026:23:43:30 +0000
URI: /
Request ID: dd37cbc4dc9e33d956f83134f0147337
How this works: you are authenticated transparently with a JWT token, that is saved in your browser. At least three cookies are set: a session ID, an access token and a refresh token. You can force a logout by clearing those cookies. However, the token theoretically remains valid until it expires (default lifetime: 1h).
Troubleshooting
In case of difficulties, check the Docker logs carefully, as they usually. Check out the references below and the official documentation for guidance. File an issue on Github
Integration with third party services
PocketID can be used with all kinds of applications that support OIDC.
See https://pocket-id.org/docs/client-examples for integration examples.
Going further
- An API is available for instrumentation purposes
Alternatives
If you decide that PocketID is not for you, or some users cannot use passkeys, you can still use different OIDC software. Alternatives to PocketID include Authentik, Authelia, or Keycloak. Keycloak is more feature-rich and better audited, while PocketID is a newer project, that may be considered less mature. What makes PocketID attractive is the simplicity and small footprint.
Output of docker ps:
CONTAINER ID NAME CPU % MEM USAGE / LIMIT MEM % NET I/O BLOCK I/O PIDS
ce33f8dd080f passkeys_demo-caddy-1 0.00% 46.09MiB / 62.7GiB 0.07% 1.03MB / 789kB 0B / 36.9kB 17
f1e645412603 passkeys_demo-pocketid-1 0.01% 24.76MiB / 62.7GiB 0.04% 560kB / 673kB 0B / 12.8MB 18
4352cbb8a3ef passkeys_demo-nginxdemo-1 0.00% 9.91MiB / 62.7GiB 0.02% 276kB / 1.61kB 0B / 12.3kB 13
Conclusion
Passkeys are a convenient alternative to passwords, and virtually tamper-proof. We have shown how services protected by classic password schemes and traditional SSO solutions can easily be upgraded to passkeys.
Additionally, we have shown how to easily secure legacy web applications, that lack built-in authentication mechanisms.
References
- Passkeys.com: The Complete Passkey Authentication Resource
- Pocket ID – A simple and easy-to-use OIDC provider that allows users to authenticate with their passkeys to your services
- Pocket ID: Easy Passkey Authentication
- PocketID – Proxy Services
- PocketID – Container Security Hardening
- Setting up Pocket-ID with Caddy-Security
- Caddy – The Ultimate Server with Automatic HTTPS

